In ScanPay, tags are a simple but powerful way to label and organize jobs. You can mark a job as "Follow-Up", "Pending on Tech", "Rework", and more — using clear colors and icons. This helps your team quickly understand the job's context at a glance.
Adding tags to a job
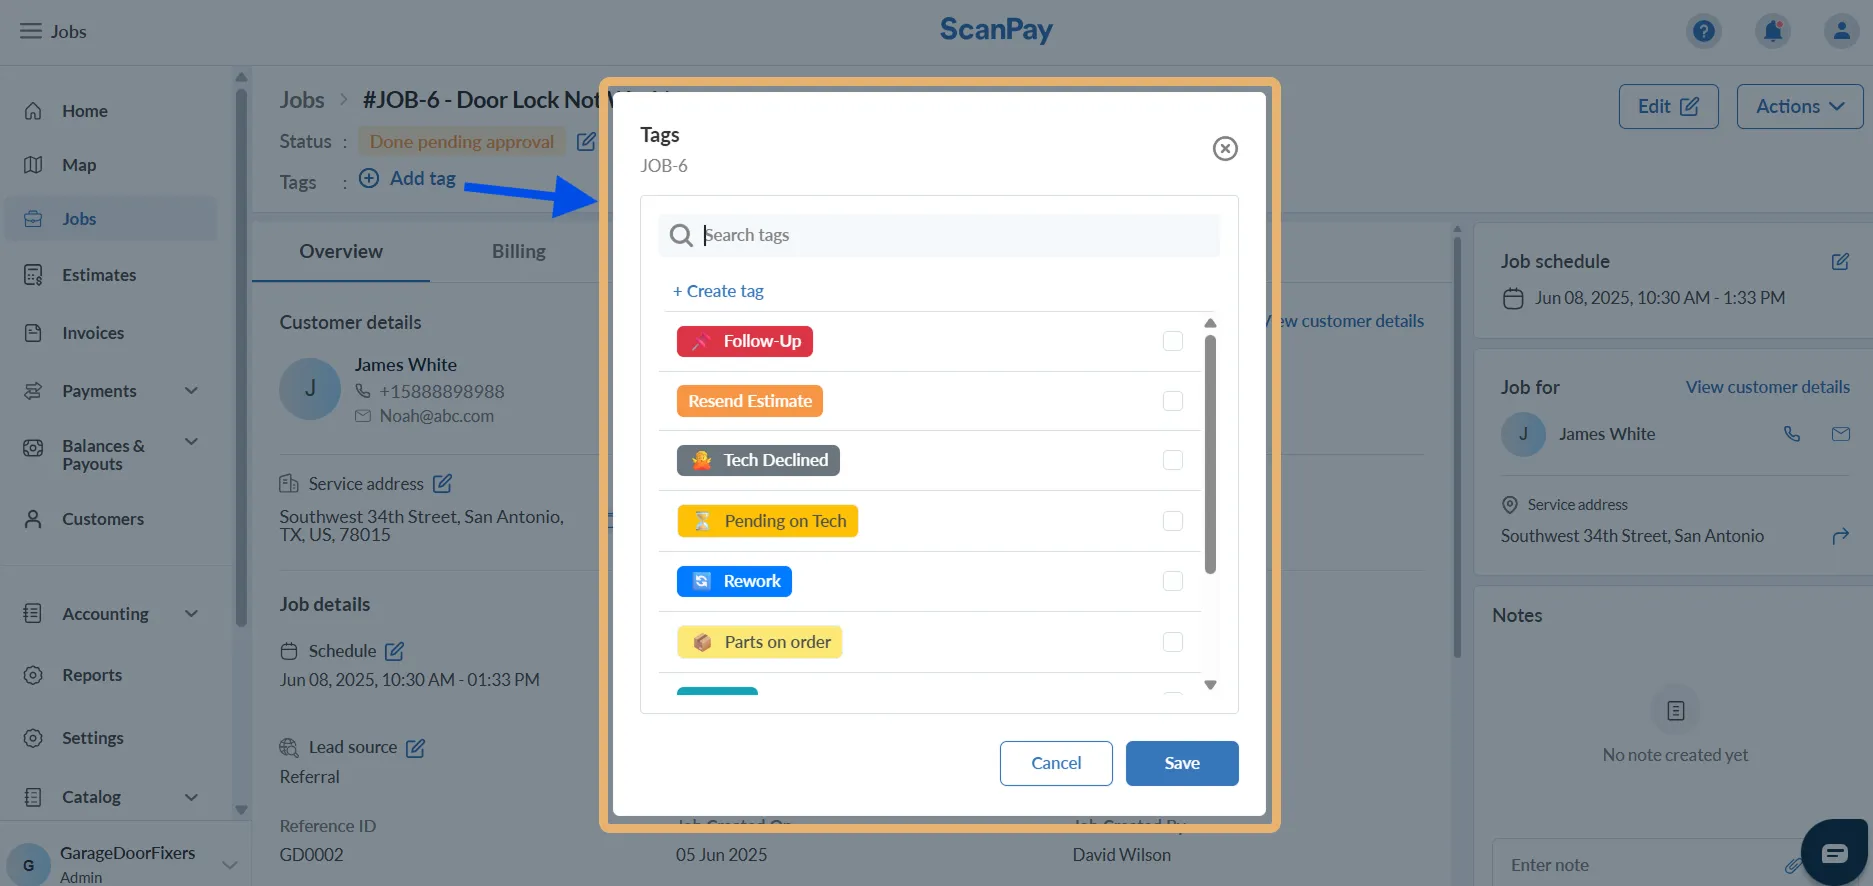
- Go to the Jobs tab and open the job you want to tag.
- Next to Tags, click on + Add tag.
- Select from existing tags or create a new tag.
- Click Save.
Creating a new tag
If the tag you need isn’t listed, click + Create tag in the tag popup to quickly make a new one.
You’ll be able to:
- Enter a tag name
- Pick a color (e.g., Red for urgency)
- Choose an icon (e.g., 📌, ⏳, 🧰)
- Enter a display order. (Tags are shown in ascending order of display order)
Newly created tags will immediately become available for all jobs.
When to Use Tags
Tags are flexible tools that help teams visually categorize and prioritize jobs throughout the workflow. Here are some common use cases:
- Track job sub-status — such as follow-ups, pending technician actions, or rework.
- Highlight time-sensitive jobs — like urgent service calls or overdue tasks.
- Indicate dependencies — such as jobs awaiting parts or customer confirmation.
- Add context — like “Referral,” “Discount,” or “Resend Estimate” for internal visibility.
- Organize jobs by category — to filter, group, and manage your job board more efficiently.
By applying consistent and meaningful tags, your team can quickly scan job lists, reduce miscommunication, and keep operations running smoothly.